A snow cave as a tent?
- Miel Bonduelle
- Sep 30
- 5 min read

During winter adventures, the topic of building a snow cave or igloo sometimes comes up. In emergencies, these are known as the last refuge against the cold winter night. But can a snow cave also function as an everyday tent? The short answer is yes, provided you allow at least 1 to 2 hours to build it.

Safe winter adventures
A snow cave is not a replacement for your backpack. Going on an adventure in winter conditions can be dangerous and requires careful planning and experience. Do not use this description as a substitute for a hut or tent. We advise against using snow caves unless you are under the supervision and with the approval of experienced guides.
Here you can find more information about safety in winter snow adventures.
The different types of snow caves
In case of emergency
In case of emergency, we have three situations to choose from:
Slope with sufficient snow - the cave
Flat area with sufficient snow - the tunnel
Insufficient snow - the mound
As a base camp
Here we prioritize comfort and space to “live.” A sufficient snow depth is needed for this construction, and it takes more energy to build. However, the result is a pleasant stay. The starting point is a tunnel or trench.
The igloo
Use this if you have to work with ice or hard snow and digging is not an option - or simply for fun, because an igloo looks charming. This form has the steepest learning curve.
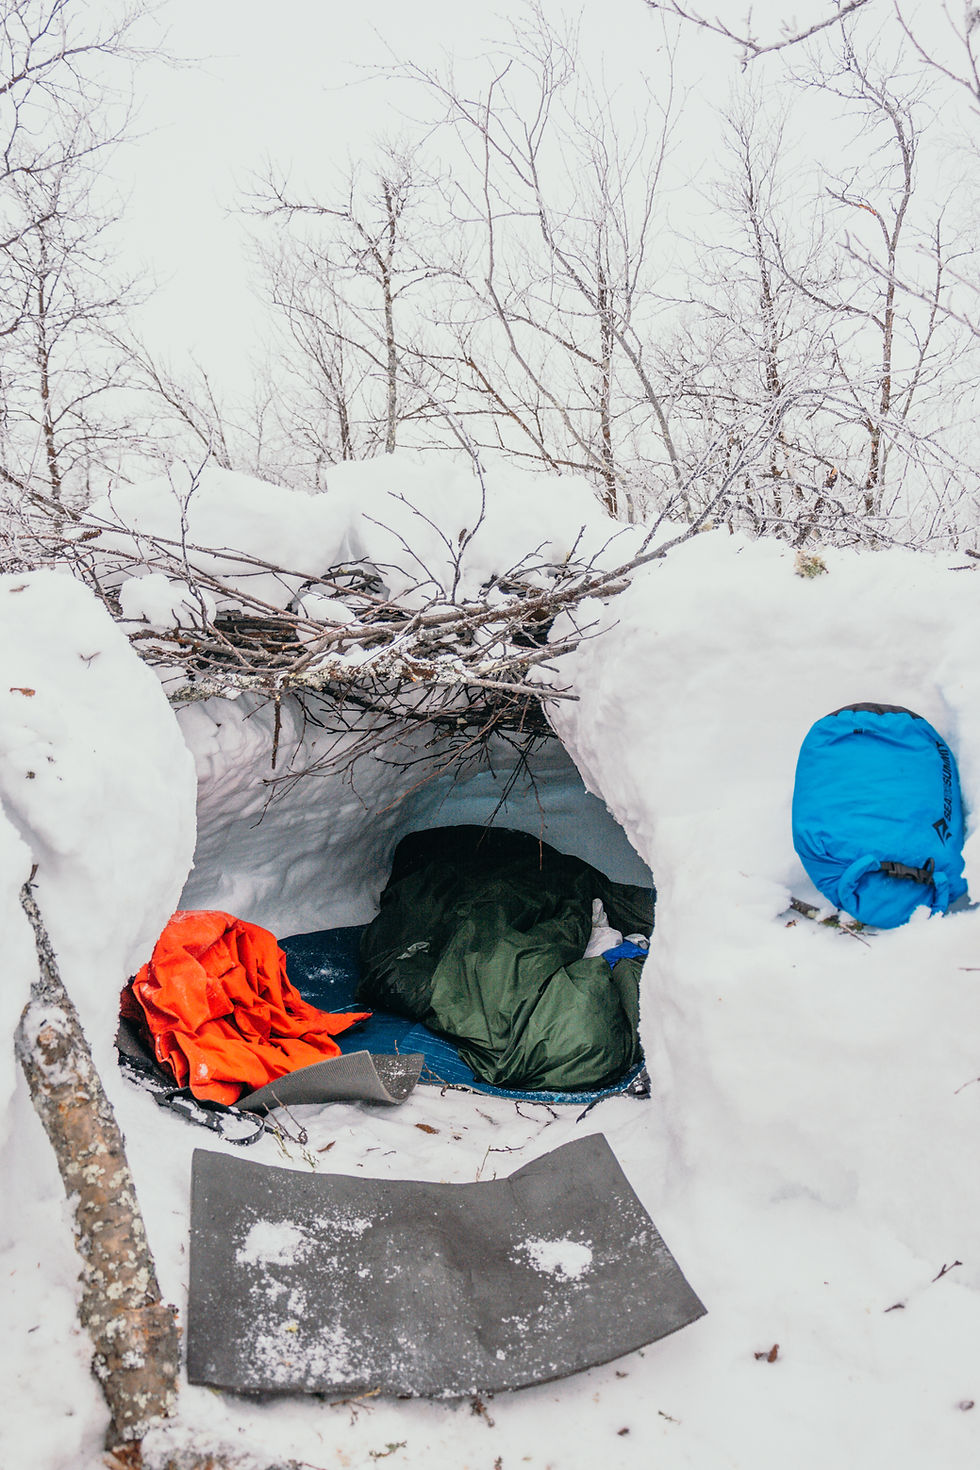
The comfort of a snow cave
When you think of a snow cave, warmth and comfort are not the first things that come to mind. Yet this is exactly what snow caves offer. Snow is an excellent insulator, making your night very quiet. A well-constructed snow cave is at least as warm as a tent and can even become too warm.
How do we make our snow cave comfortable?
Warm air rises and heats the snow on the ceiling, causing it to melt and form droplets. These droplets can soak you completely. However, this is easy to prevent by creating a smooth ceiling and providing a ventilation opening.
Our experience shows that sleep and nutrition are very important for the quality of your experience. To sleep well, you don’t want to slide off your mat at night or have to avoid a lump underneath it. Make sure you can lie fully horizontal at your full body length.
A snow cave can quickly surpass the comfort of a tent. To gradually increase your comfort zone, you can start with a half-open snow cave (in good weather), or a snow cave covered with your pulk (sled) instead of snow. Jumping straight into lying with your head two meters under the snow as your first experience is not recommended.
The coldest air is heavy and sinks to the lowest point in your surroundings. Make sure, therefore, that your “bed” is not at the lowest point. By creating a “cold trap,” you can give the coldest air a place to settle. This is literally a pit at the entrance of your shelter.
Luxury is something you create yourself. You’ll be amazed at what you can achieve with perseverance and logical thinking. For example, it’s better to allow a little extra space to lie down; at first, it’s easy to underestimate how much space your mat and sleeping bag actually take up.
The same applies to a flat surface: it’s better to be meticulous than careless.
Can a snow cave collapse?
Strength of snow throughout the day
This information should not be used for avalanche risk assessments or other hazards.
Both wet and dry snow become harder as it gets colder. You work with snow when it is at its warmest and therefore weakest. As the night progresses, your construction becomes increasingly stronger.
Personal experience
In our exploration of the limits of snow caves, we managed to collapse one snow cave. This happened with a roof 5 to 10 cm thick over a width of 1.2 meters. At that thickness, the snow weighs so little that you barely notice anything happening, but suddenly you find yourself outside. The collapse occurred while thinning the roof by scraping snow off the ceiling.
With a minimum roof thickness of 20 cm and using only rounded shapes, we can always stand on the roof with snowshoes. In the morning, after spending the night in a snow cave, we often enjoy the challenge of jumping on the roof to test its strength a fun confirmation of the snow’s durability.
Building a snow cave
Choosing a location
In a snowy landscape, some areas have more snow, while others have obstacles or less snow. To determine the most suitable spot to start digging, use a probe or a long, thin pole. This allows you to measure snow depth and detect rocks, small trees, or other obstacles. This way, you can avoid digging in a spot with insufficient space for your construction.
Digging
The most important thing is regulating your sweat, so alternate frequently between digging and resting. One person can dig while the other rests. This way, it takes about two hours to build a shelter for two people.
Try working by forming blocks that you can then throw out of the snow cave. The person resting outside can stack these blocks or simply move them out of the way.

Cutting blocks
To create a roof for your tunnel, reduce the size of your entrance, or build a structure, we use blocks of snow or ice.
Try to create a good proportion between thickness, width, and length for these blocks. Approximately 10 cm × 40 cm × 60 cm is ideal for easy handling. The possibilities, of course, depend on the type of snow.
Ventilation opening
First, ensure a smooth finish so that no droplets form on unfinished surfaces. To let warm air escape from the top, make a hole leading outside. If you don’t do this, you are guaranteed to get wet during the night.

For thin roof layers, a branch or walking stick is sufficient to make the hole. Is the hardness or thickness of your roof a problem? Then you can always use a pot of boiling water as a drill. Pour the boiling water on the spot where you want to make the hole. On average, one liter of boiling water can penetrate about one meter of snow. Make sure that no one is sitting under the shelter and that no one is exposed to the boiling water.
Preventing collapses
Keep your roof at least 20 cm thick and use rounded shapes for the walls and roof.
After sunset, the environment cools rapidly, making your snow cave safer. Therefore, always follow the principle of minimum roof thickness and rounded construction carefully to prevent the risk of collapse.
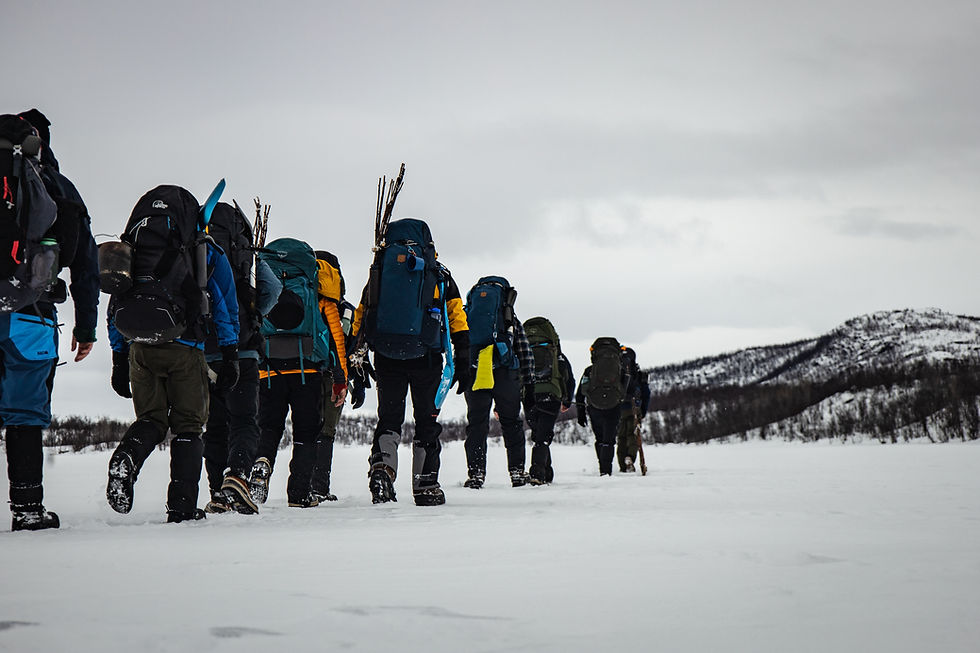
Challenge yourself in the wilderness of the far north: build your own snow cave, experience the silence of endless snowfields, and embark on an unforgettable winter adventure. Head out and let the adventure begin!


Comments